It’s done! And I’m so excited to share!!
We’ve had our sights set on making over this fireplace mantle since we moved in almost 3 years ago now. I even included it in this blog post about the 10 projects we had planned for 2021. But it wasn’t until we upgraded our living room TV to the Samsung Frame TV that we pushed the project to the top of our to-do list. This new mantle sits about 8 inches lower than the previous one, which allowed the TV to sit lower and is therefore at a much more comfortable viewing angle. If you’re wondering why we moved the TV to above the mantle – there are a couple of reasons. First, the Frame TV is meant to sit flat on the wall much like an actual picture frame. With the way that our room is set up, that meant that it would make more sense to be above the mantle since it would allow for more viewing angles. Secondly, the Frame TV displays art when powered off, so we thought it might look best above the mantle just like a framed painting or piece of artwork would look nice up there.
It’s crazy how BIG of a difference a fireplace can make in a room. It has always been the focal point in this space, but now it’s a much prettier one for sure!
Before and After
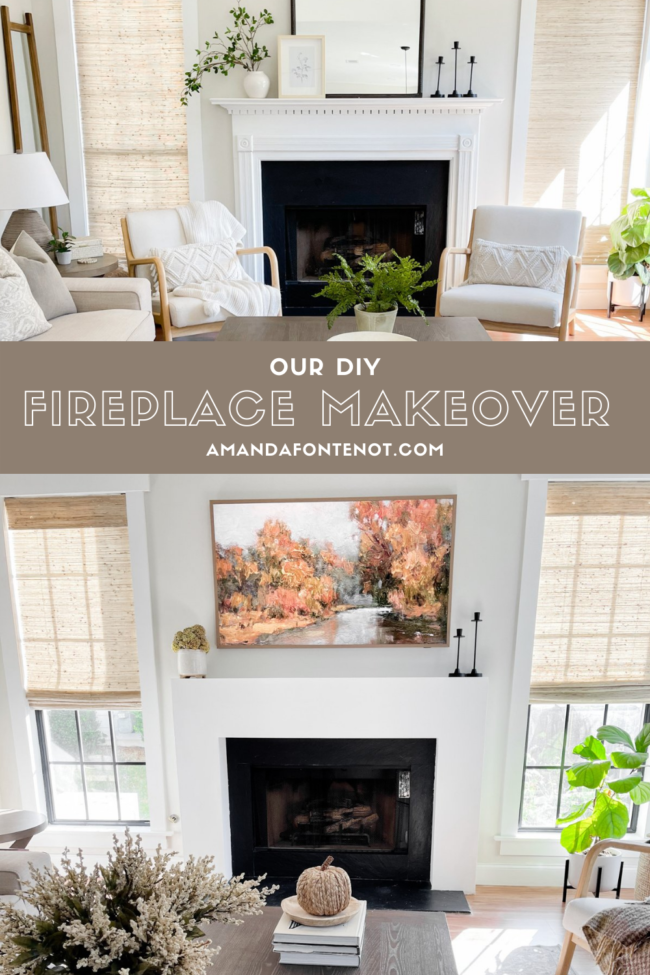
Here’s a look at the before and after and then I’ll show you the DIY process!
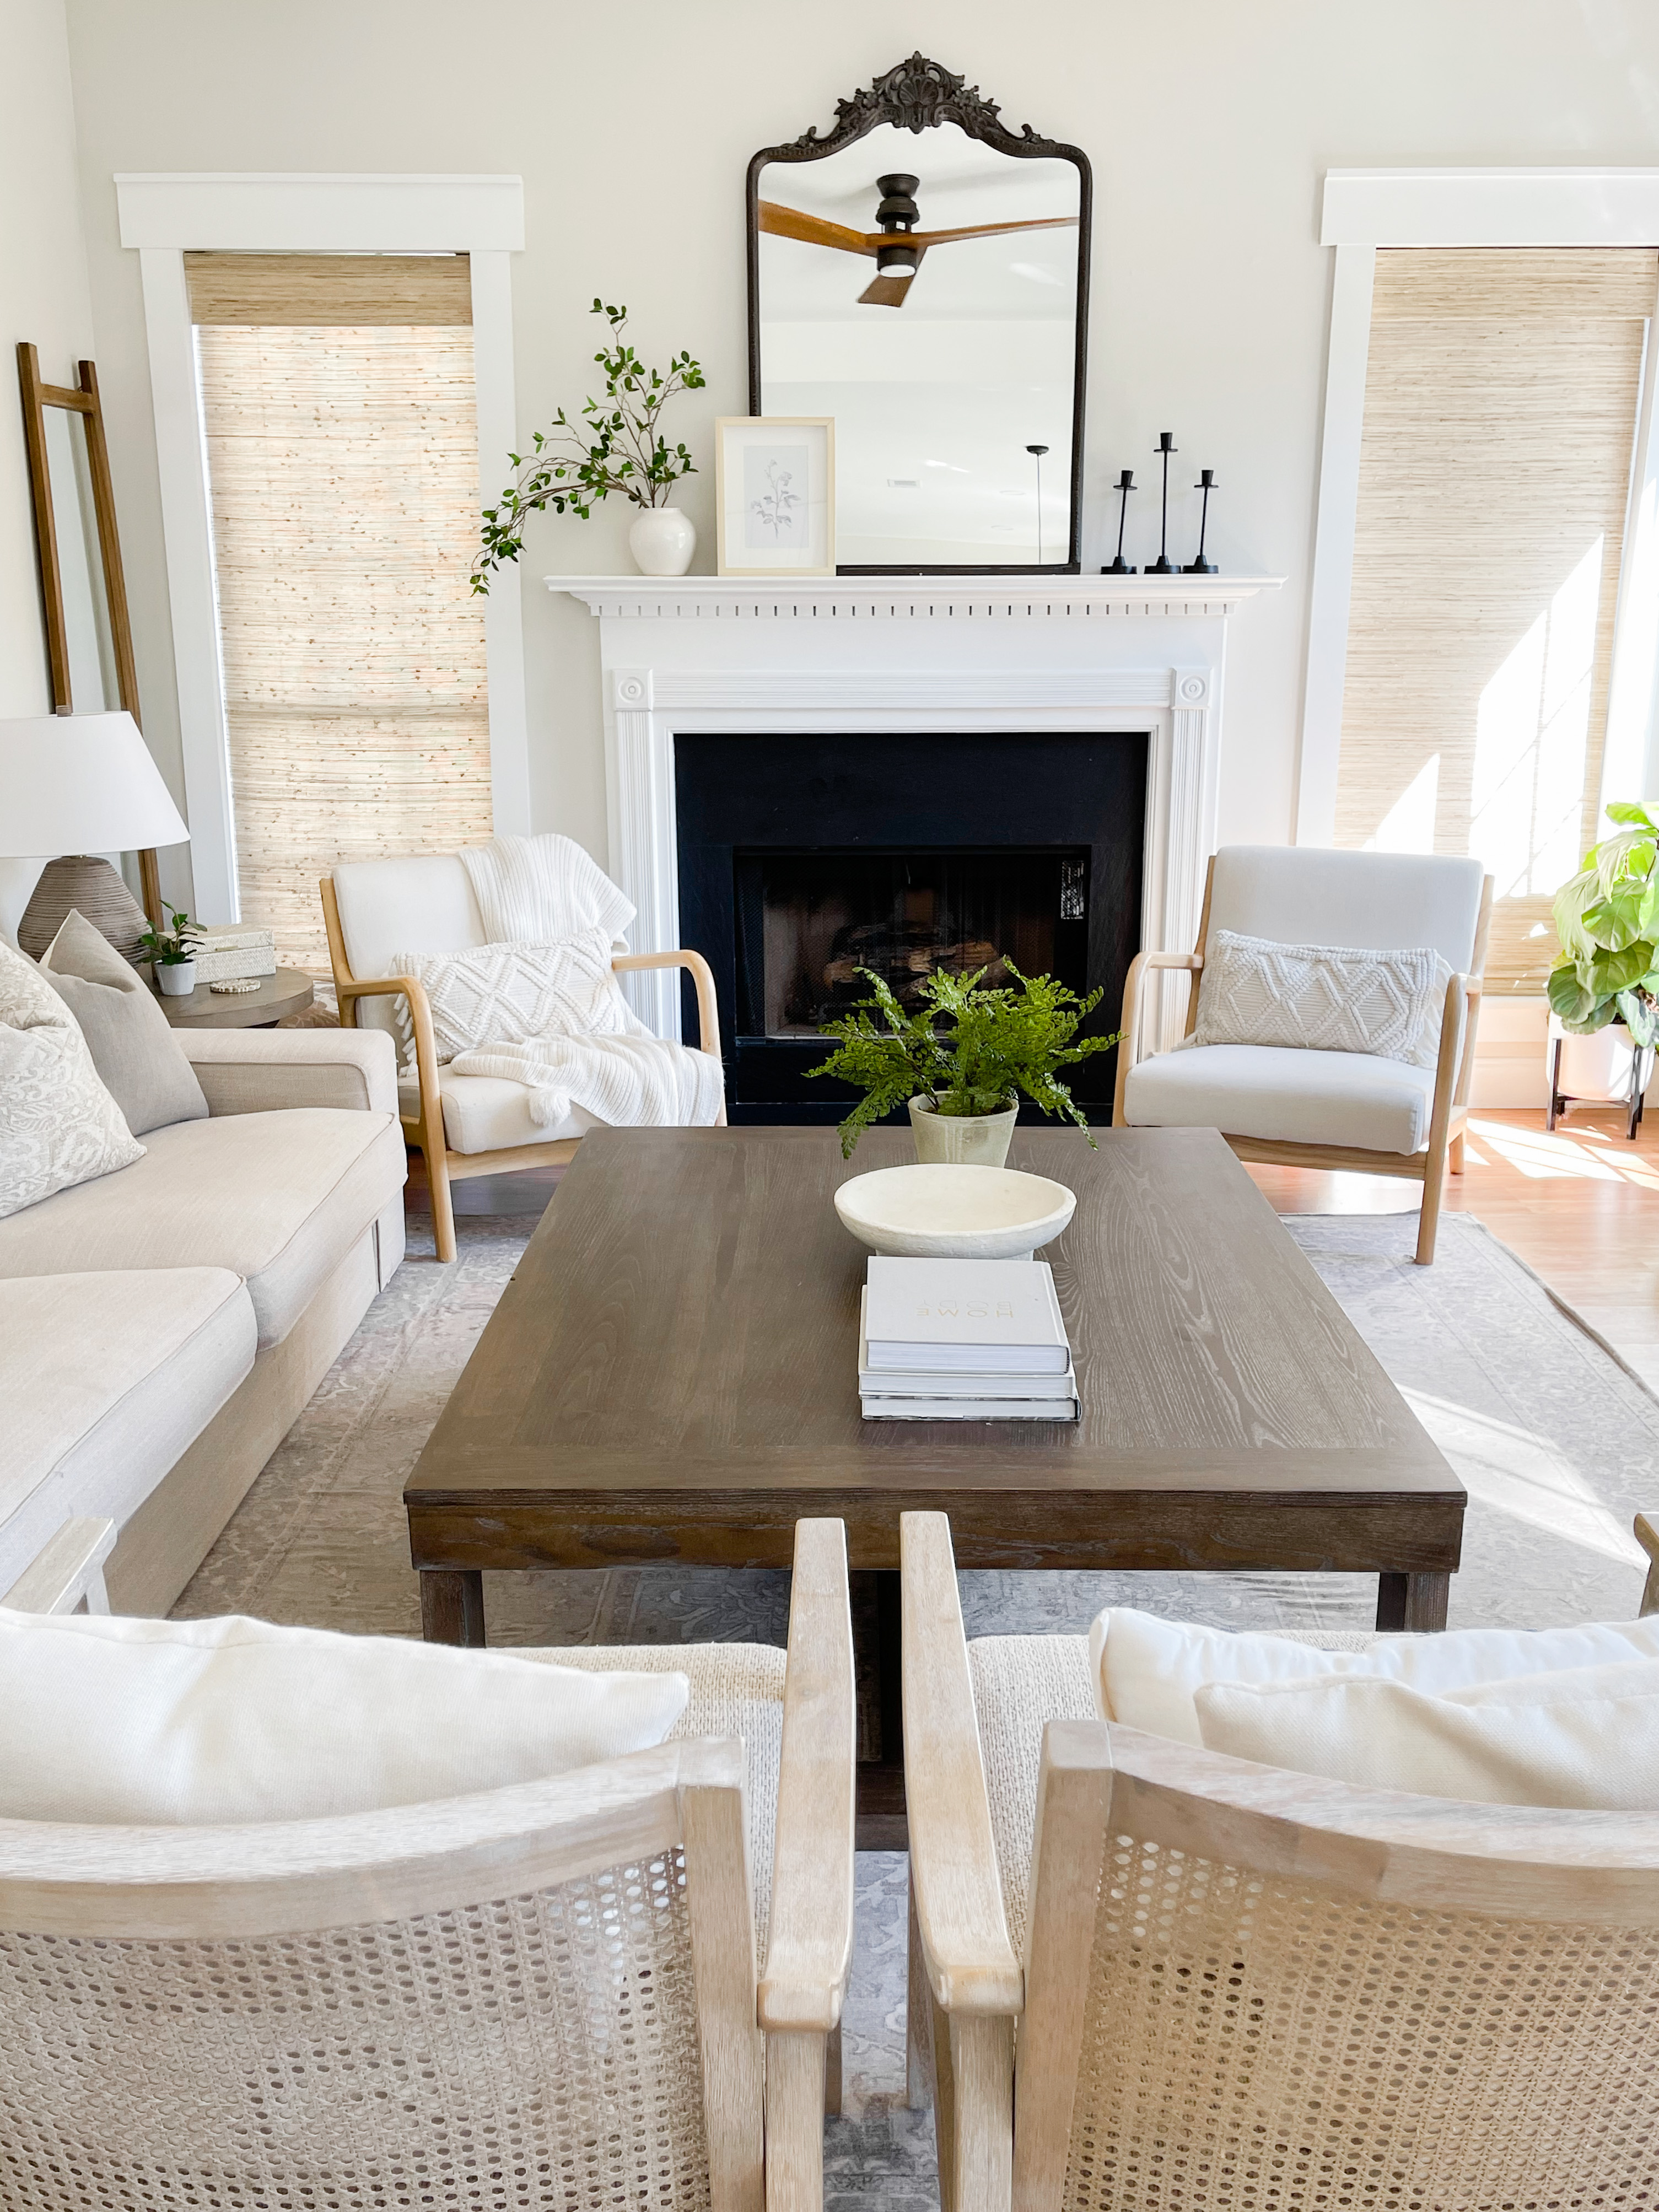
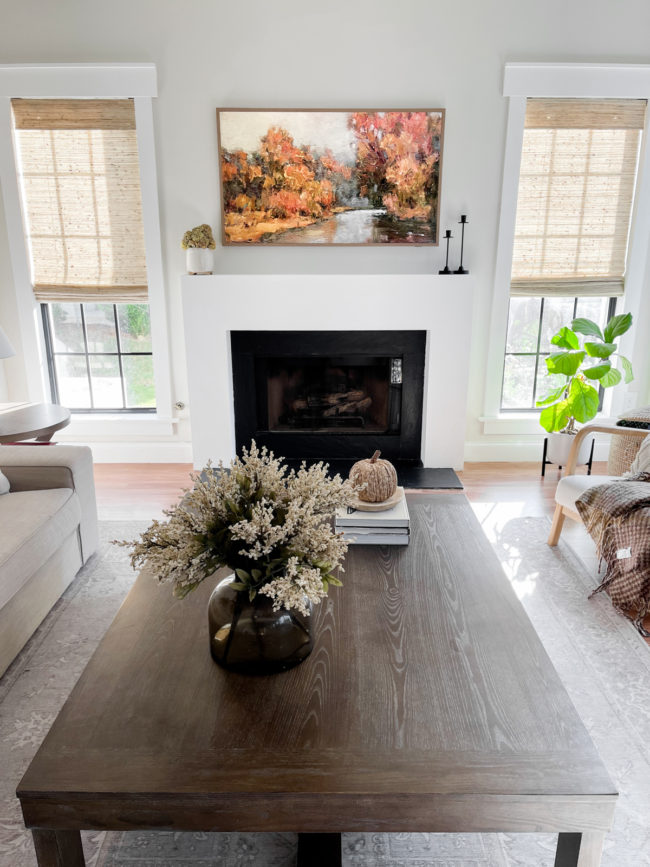
DIY Fireplace
This DIY fireplace makeover was honestly a fairly easy one! There were just a few steps involved.
Step 1: Remove the old mantle
I scored the caulk around the existing mantle to make removal with minimal wall damage a little easier. Then, using a crowbar and rubber mallet, slowly worked my way around the mantle to break it free. This is what it looked like afterwards. Yep, that’s a real life mess in the foreground 😉
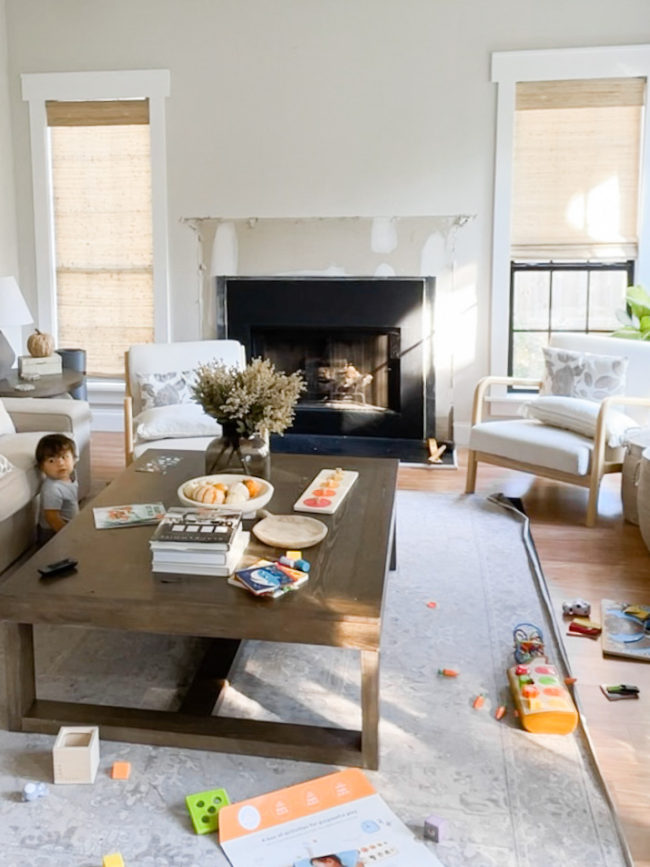
Step 2: Build supporting frame.
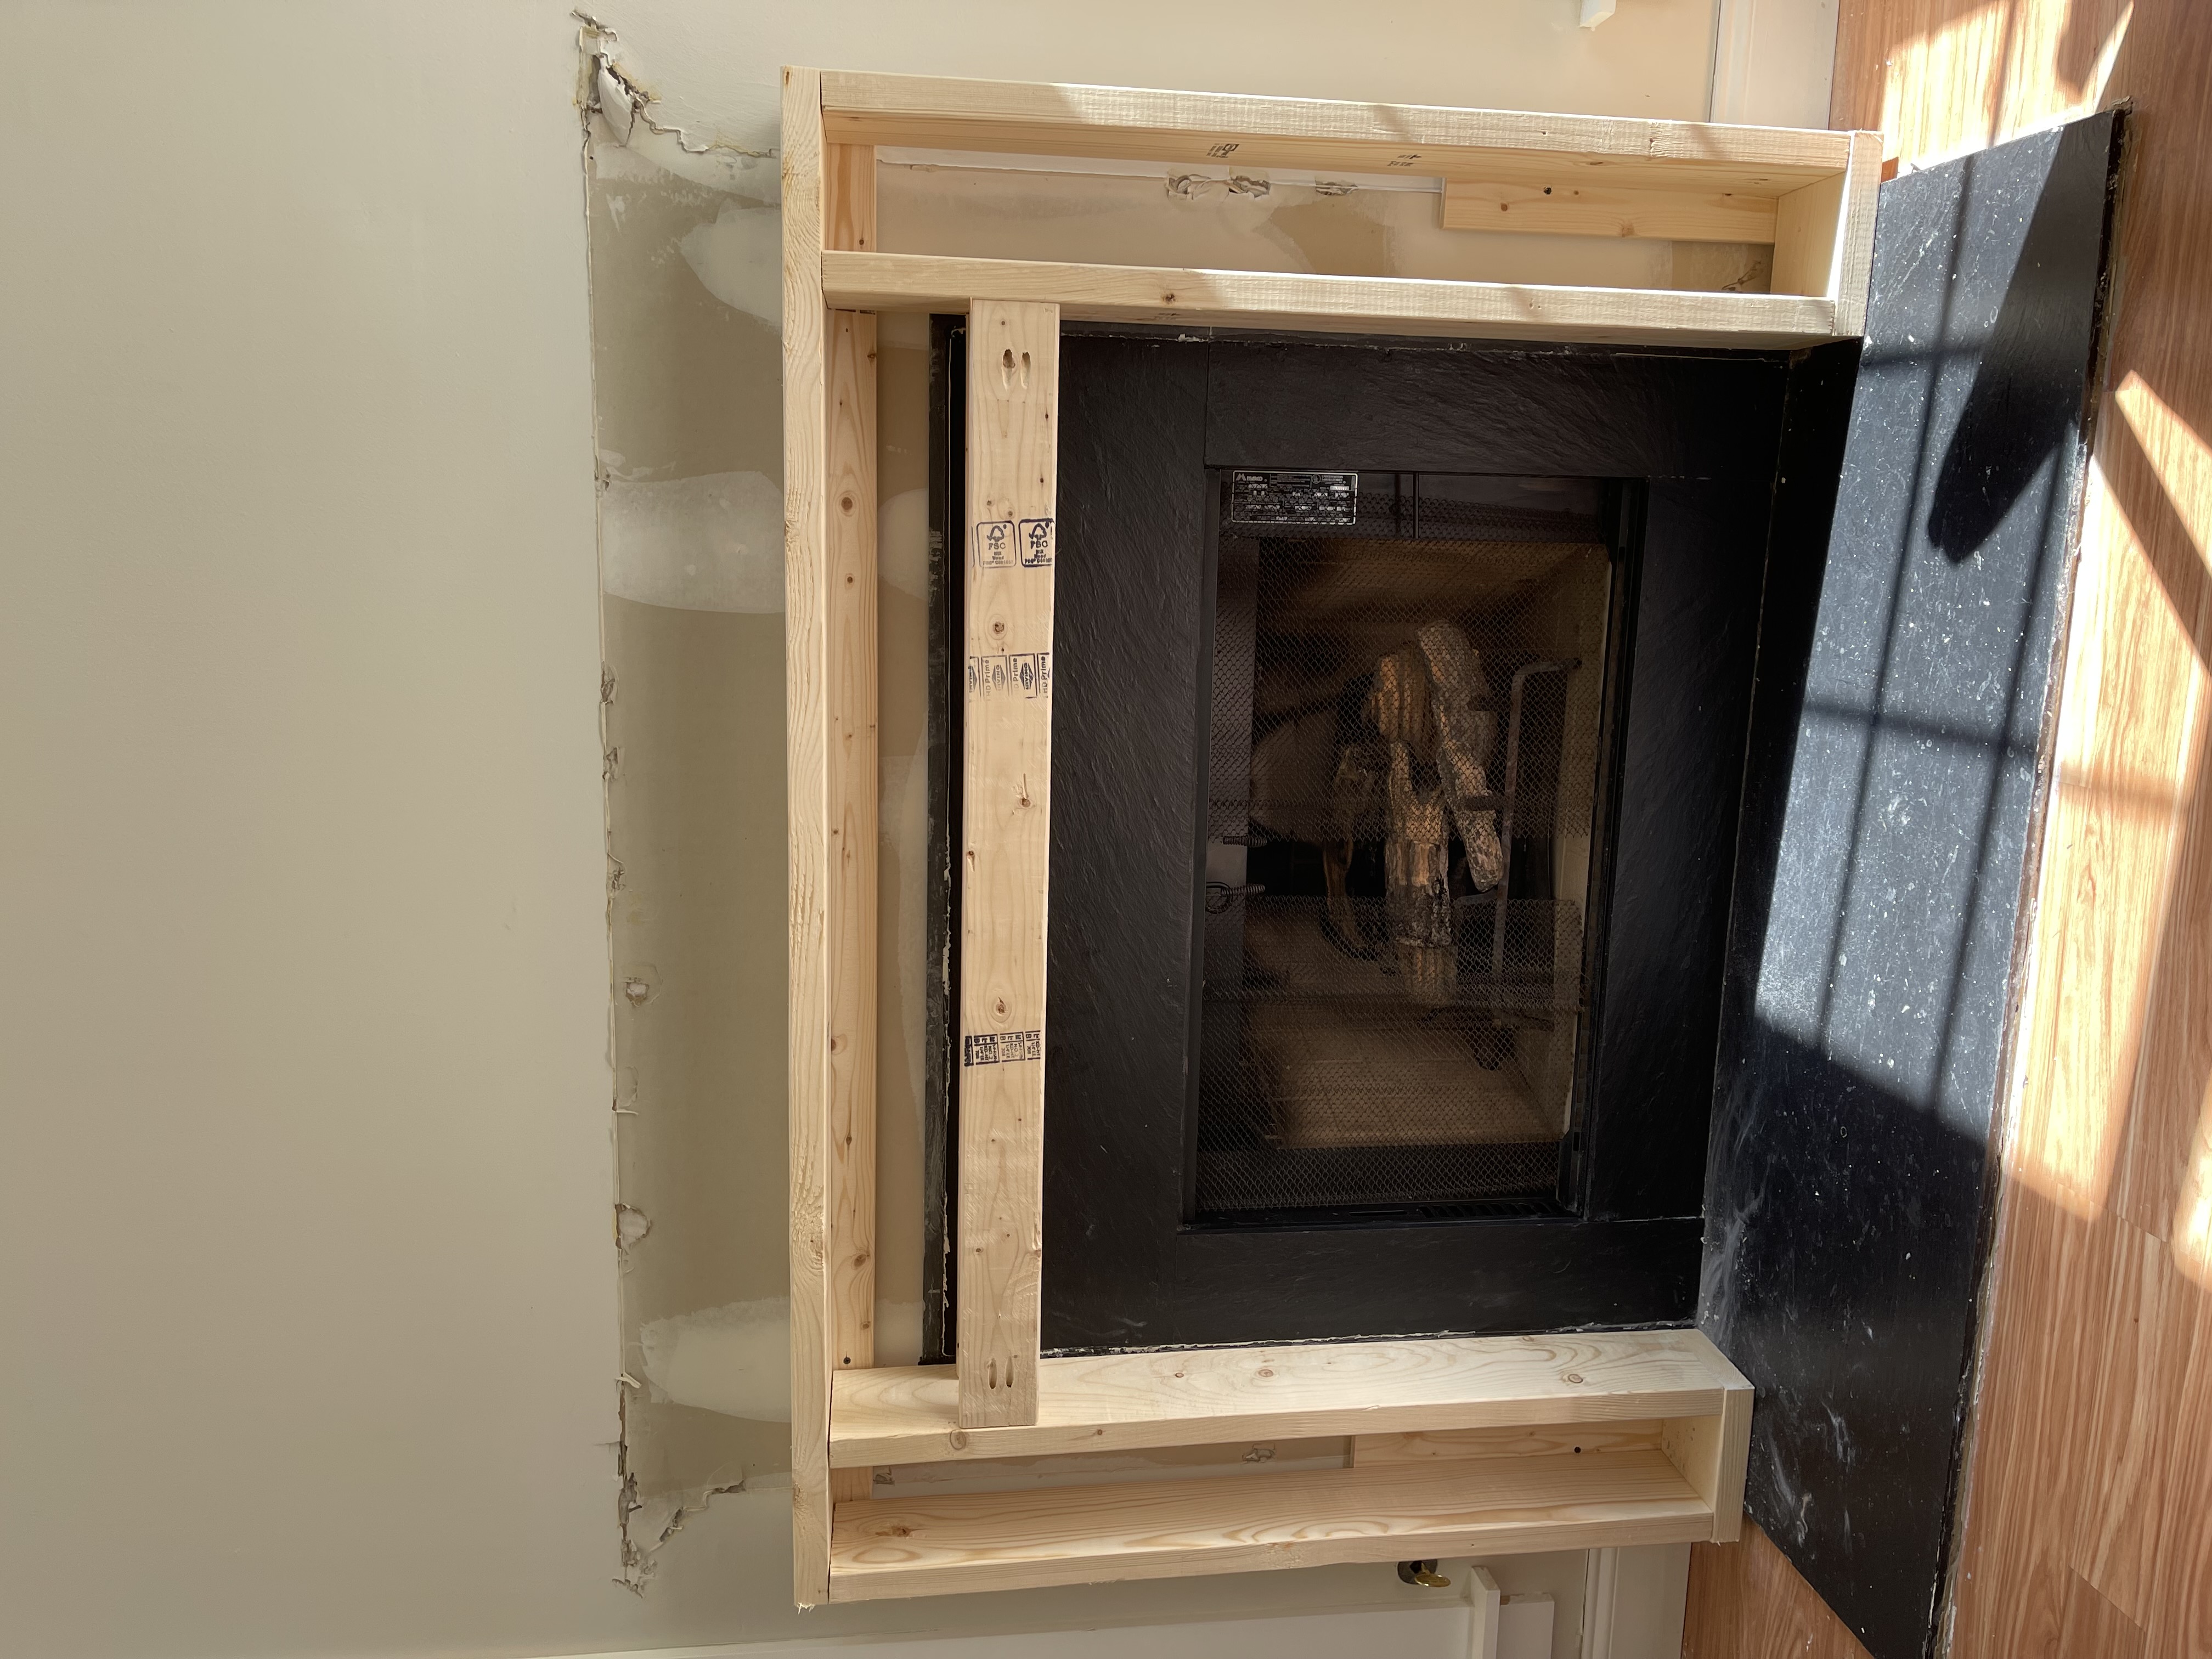
This was a support frame built from a few 2×6’s and 2×4’s and then attached to the wall with a couple pieces of 1×4 in the back. As you can see it’s a good bit lower than the outline of the old mantle. This was crucial because we wanted to be able to mount the TV much lower to be easier to watch. Plus, I wanted the width of the legs and the width of the top to be as even as possible.
Step 3: Cover the frame with drywall.
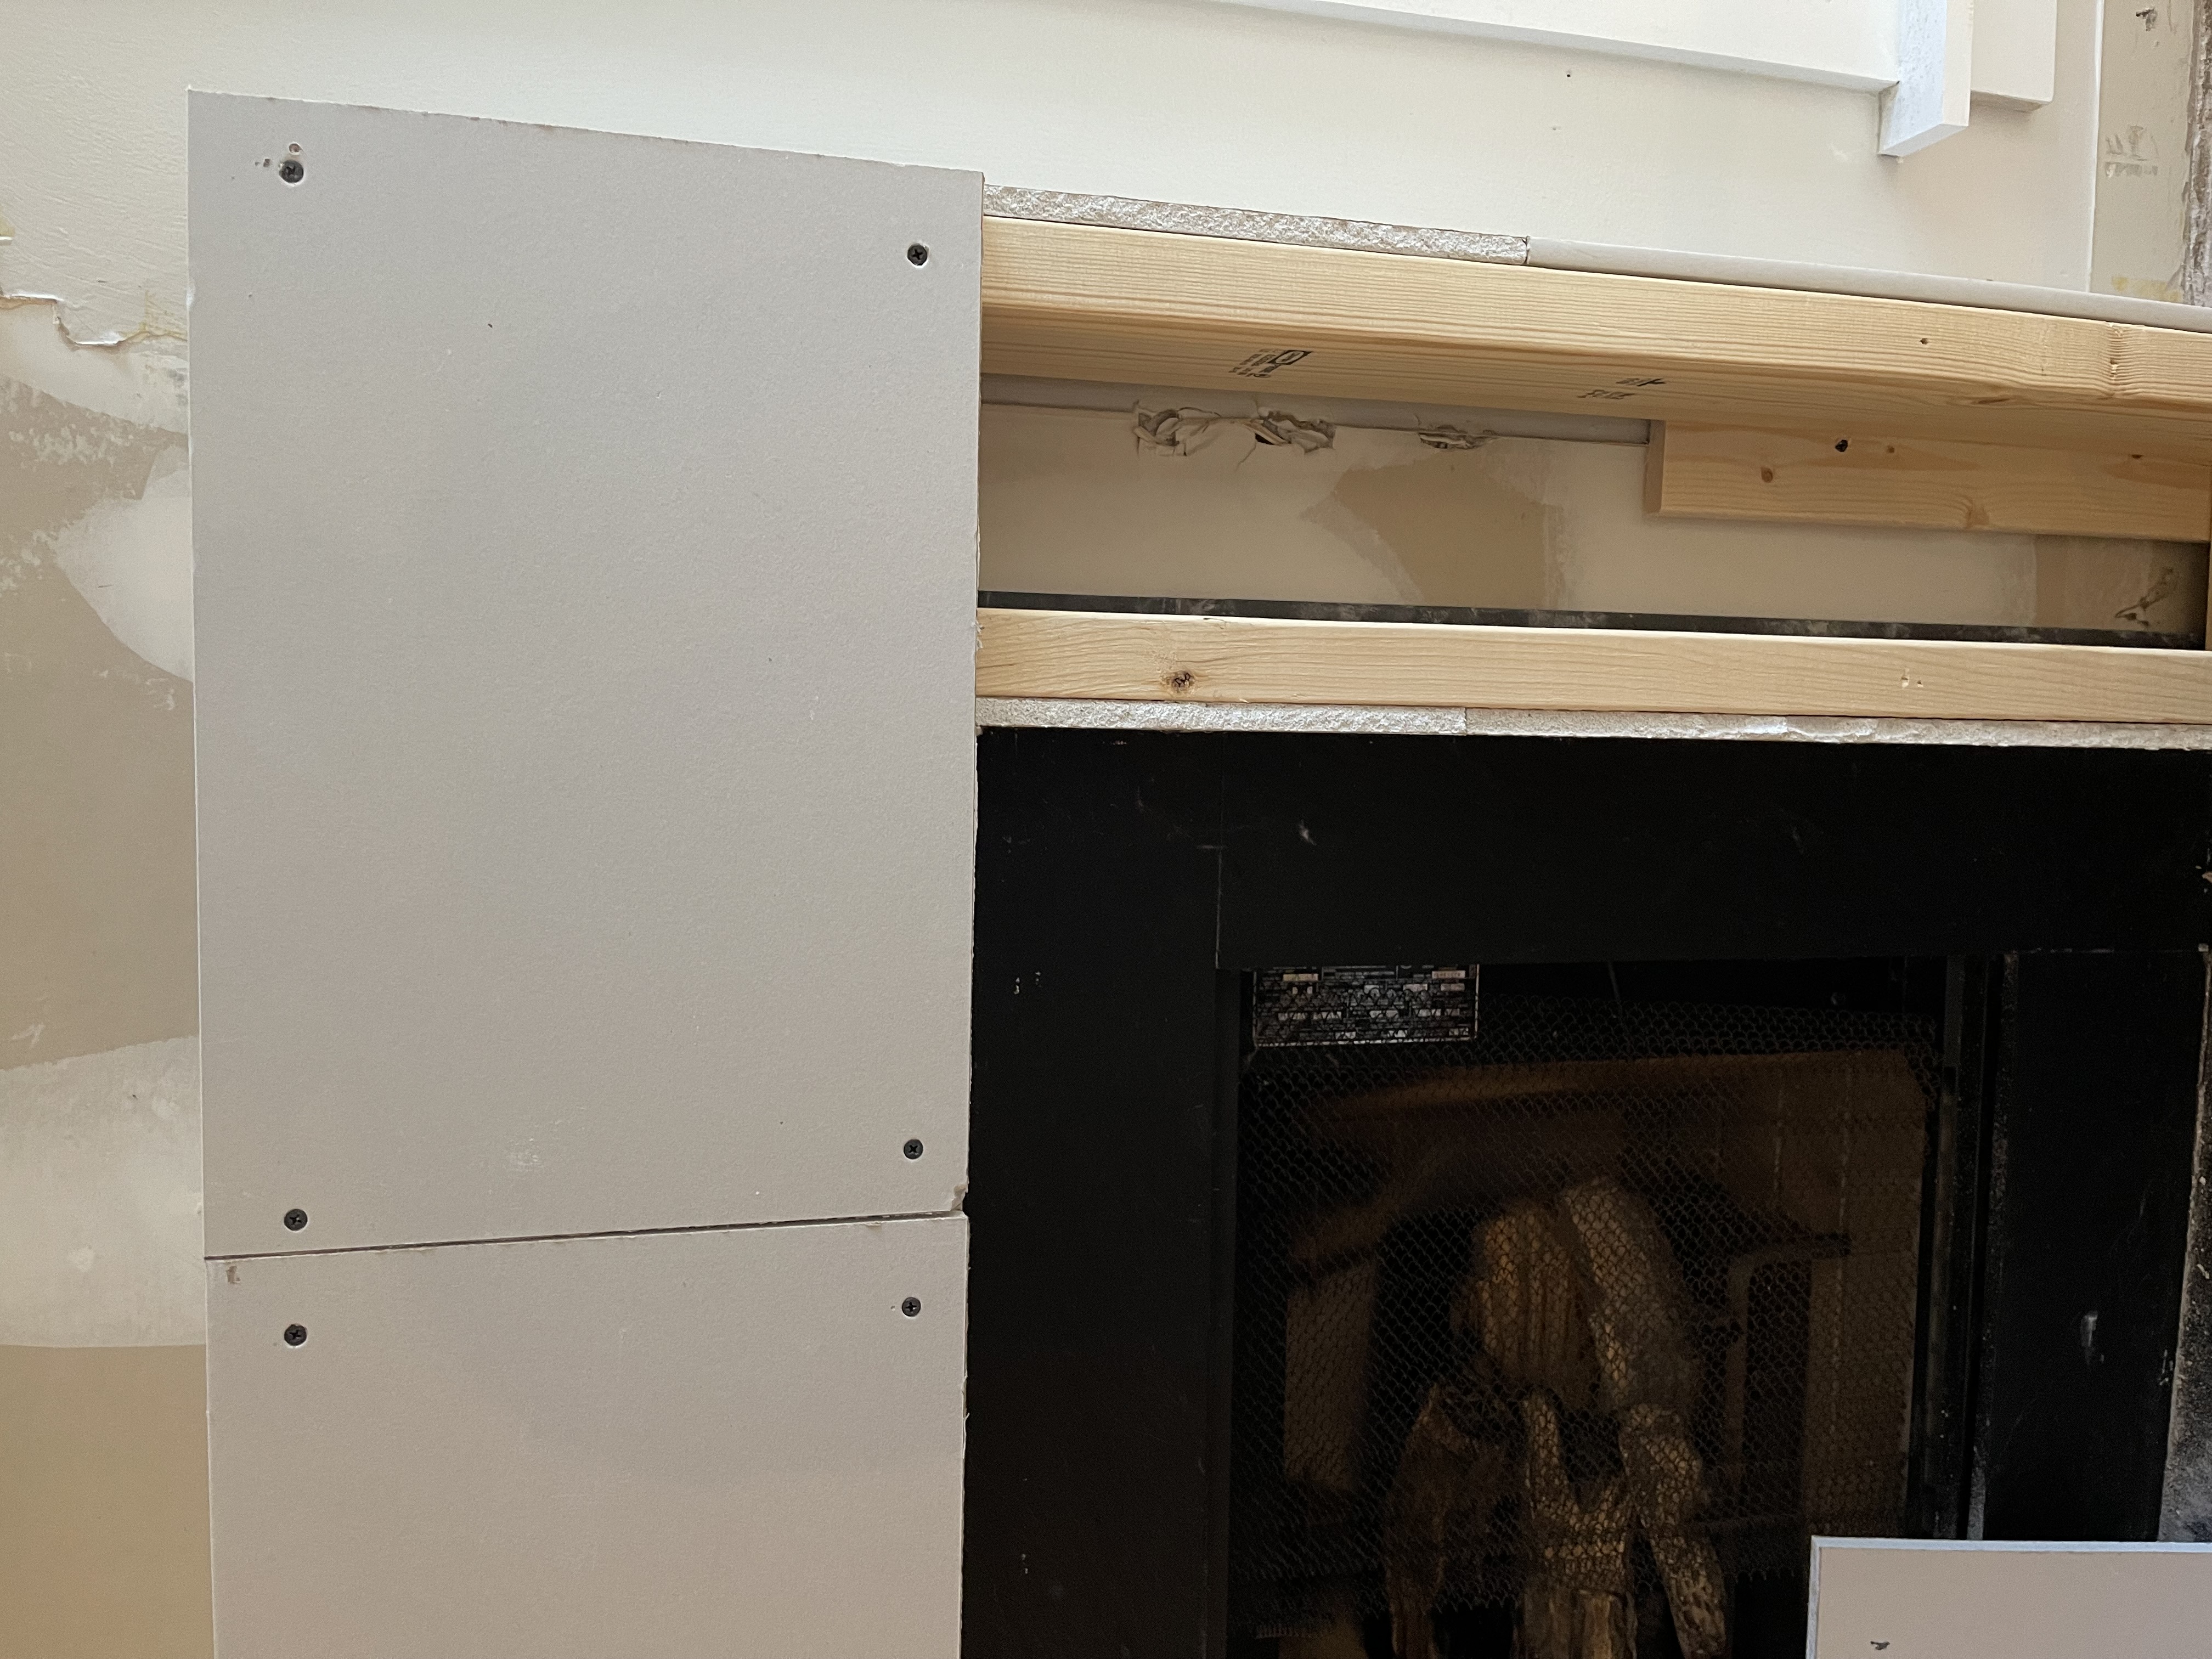
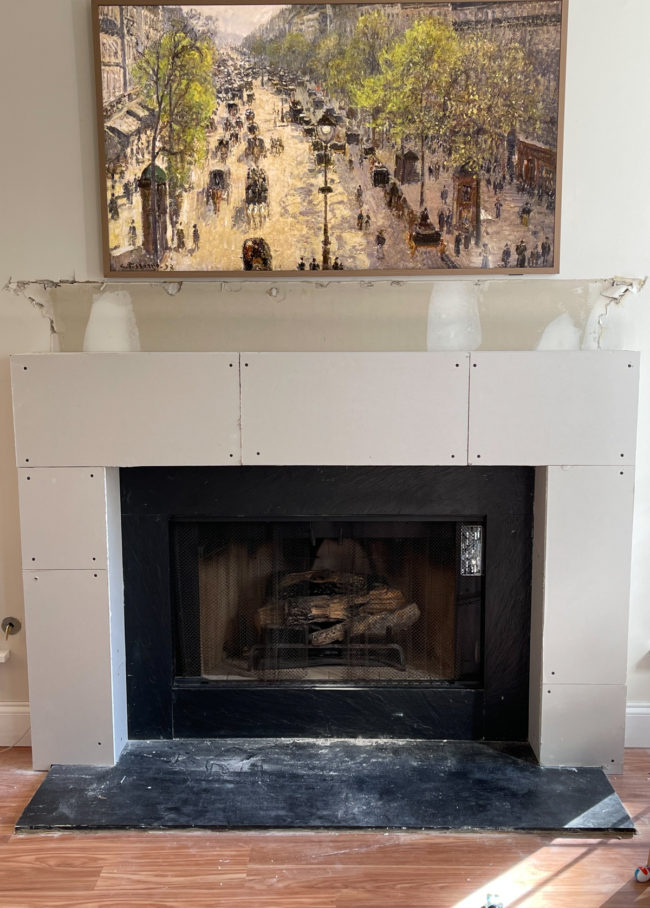
I used 3/8″ drywall along the top and sides. Then, I used 1/2″ drywall on the front to give slightly more depth to the overall mantle.
Step 4: Mud and sand.
For some reason I didn’t capture this process at all. Garrett spent his whole weekend mudding and sanding. It took three layers to cover the seams and make it all one level plane, but he did such a good job!
Step 5: Paint and decorate!
The final step! I used flat interior paint on the mantle and applied it with a thick 3/4″ roller because I wanted a little extra coverage and texture to the mantle itself. The effect gave the surface an almost stone-like look and feel and I absolutely love it!
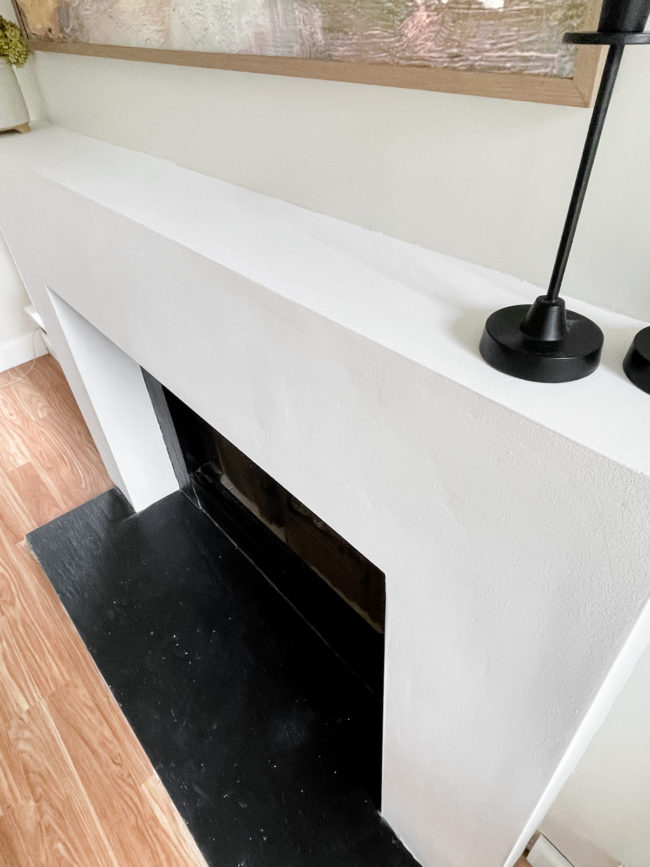


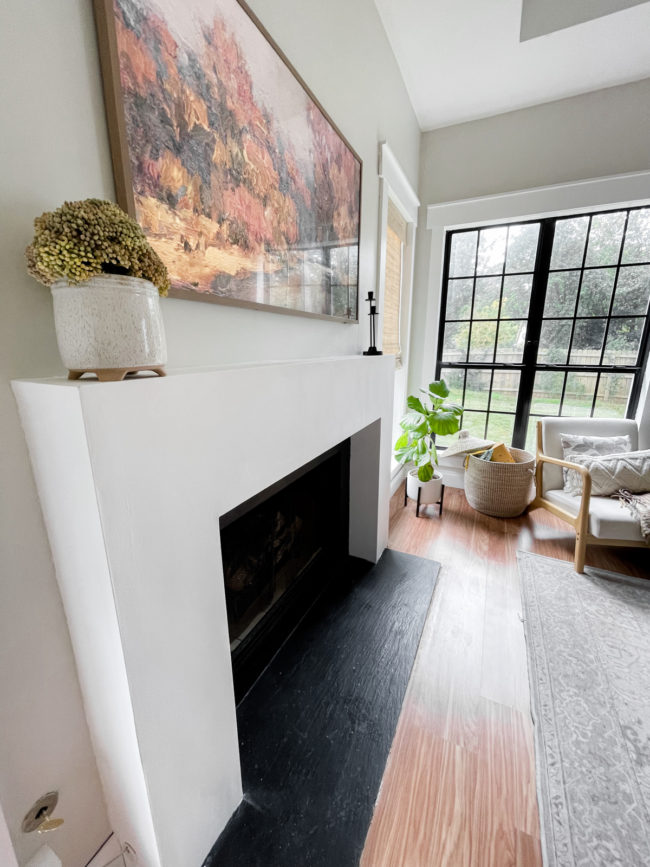
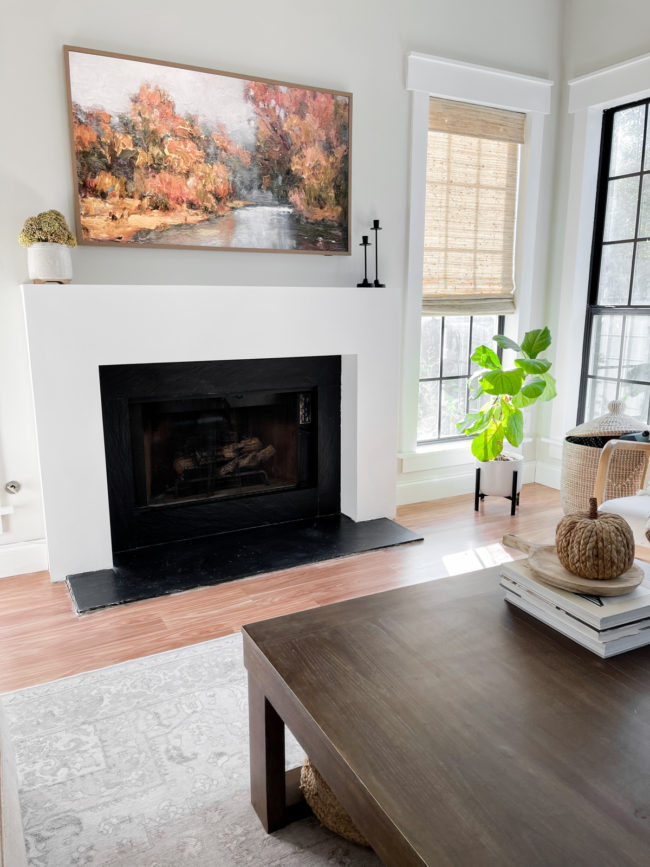
And that’s it.. What do you think?! We think it goes so much better with the look and feel of our home as a whole. I’ve caught myself several times lately just standing and staring!
Like this post? Pin and share!



Comments are closed.